BITGET · KYC
Bitget KYC Verification Guide
Complete identity verification with clear documents and the correct live-account options.
Referral code MTOWN20% fee discountOfficial-source workflow
STEP BY STEP
What to do in order
Button names and layout can change as the exchange updates its app and website. The live account screen is the final reference.
Reviewed Aug 31, 2026Official-source links checkedLive account screen is final
STEP 01
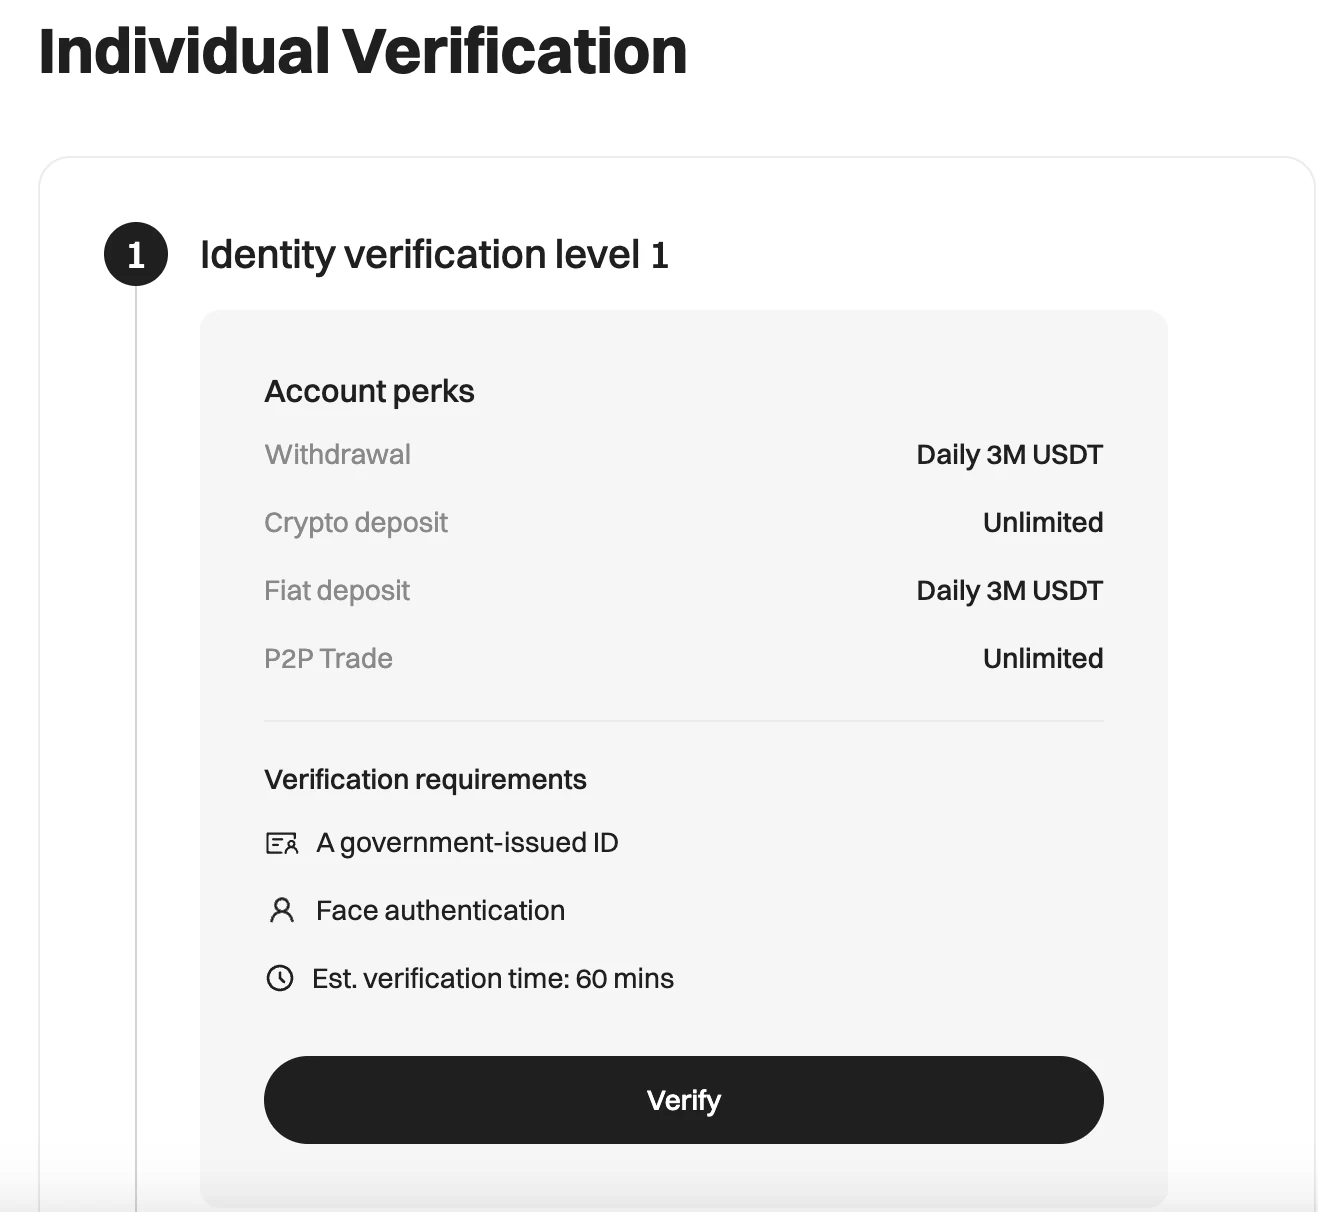
Open Identity Verification
Use the profile menu and start individual verification.
STEP 02
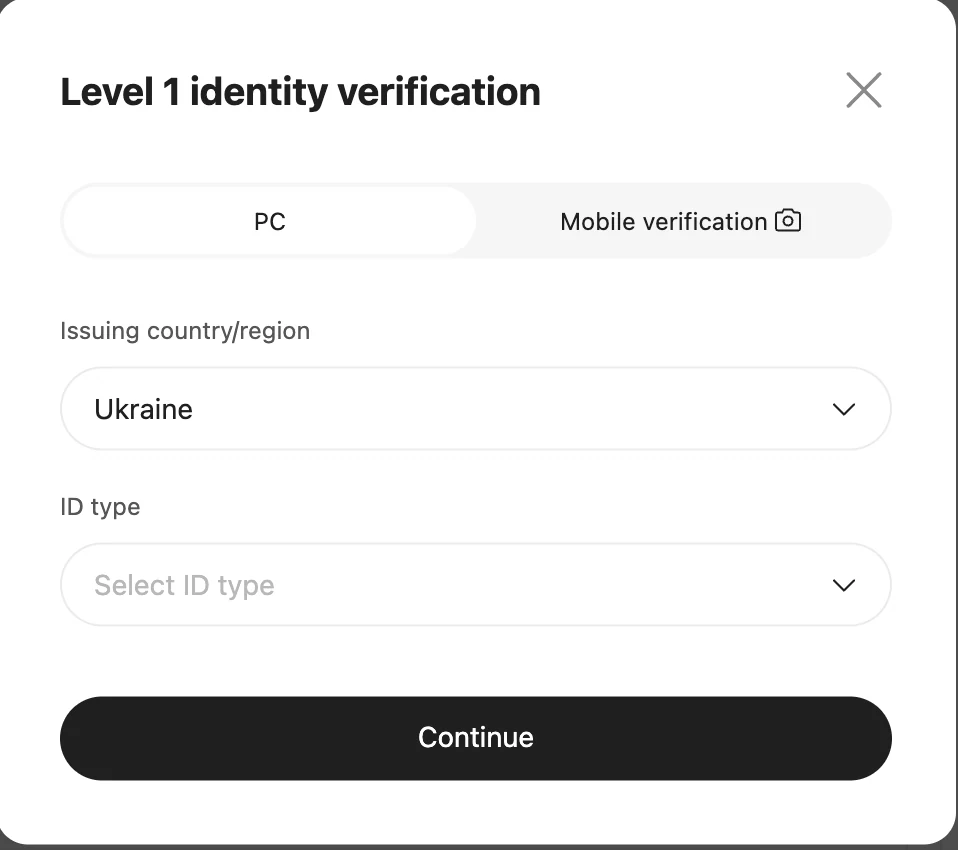
Choose residence and issuing region
Use the information that matches your real documents.
STEP 03
Enter legal identity details
Match the name exactly to the ID.
STEP 04
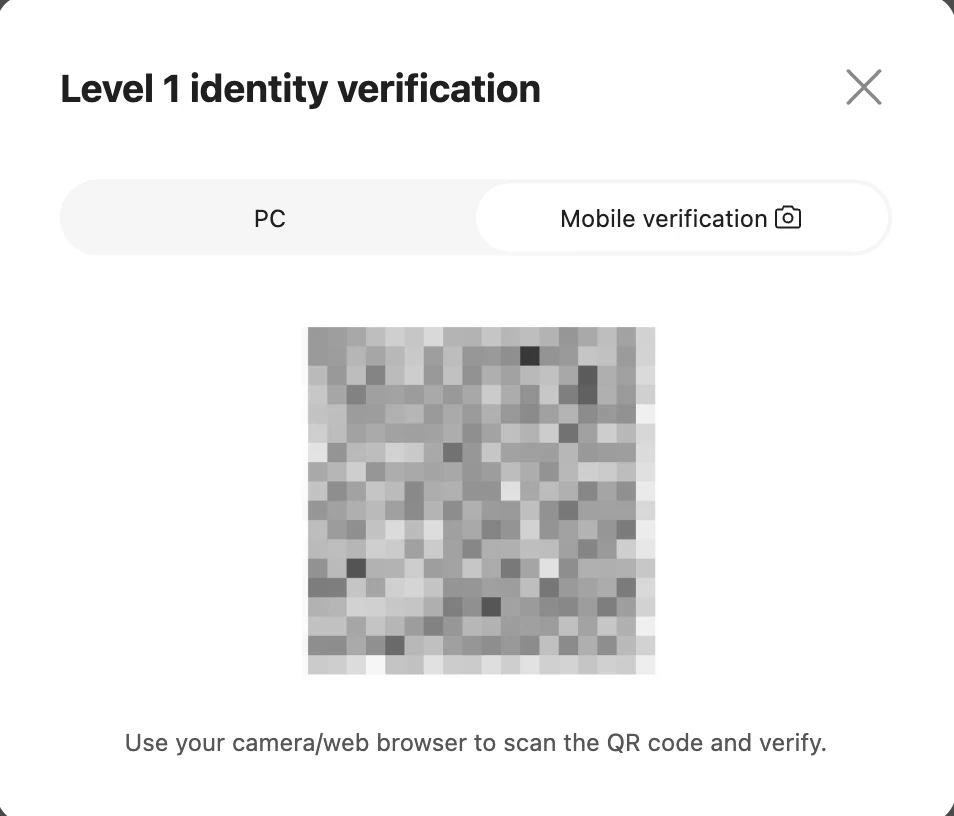
Capture the document
Use the QR/mobile flow if Bitget presents it.
STEP 05
Complete facial verification
Use good lighting and keep the full face visible.
STEP 06
Check review status
Return to the verification page to see whether the account is approved or needs resubmission.
Official reference
We use the exchange's own help content as the baseline and rewrite the workflow for faster scanning.
Open Bitget official documentation →